Add a little sparkle to the start of the new year with a fun winter-themed science experiment! In this activity students will learn how to grow crystals on their own handmade snowflakes. Kids will be amazed at how easy and fun it is to grow their own crystals—and you will too! Read on to find out more.

This crystal-growing science experiment is very easy to do! It is helpful to note before you begin the activity that you will need to be able to boil water, so this experiment is ideally performed in a kitchen. Alternatively, you could use an electric tea kettle to boil water in the classroom. (We strongly recommend that an adult handles the boiling water at all times.) It is also helpful to note that the crystals will grow overnight, so they will need to be set up in an area where they will be undisturbed for that time frame.

You will need to gather a few materials before you jump in. Here's what you'll want to have on hand:
Once you have all these supplies, it's time to start making crystal snowflakes!
First, students will make snowflakes from the blue, white, or silver pipe cleaners. The easiest way to do this is to cut (3) three-inch strips of pipe cleaner and (6) one- or two-inch strips of pipe cleaner for each snowflake. (The measurements do not need to be exact, as long as you stay on the smaller side and keep the longer and shorter strips consistent lengths.) Making the snowflakes is a little finicky, so be prepared to help little ones with this.
Bend the longer strips at right angles and twist them around each other to form the main structure of the snowflake. Bend the shorter strips at right angles and twist them around each "arm" of the snowflake.
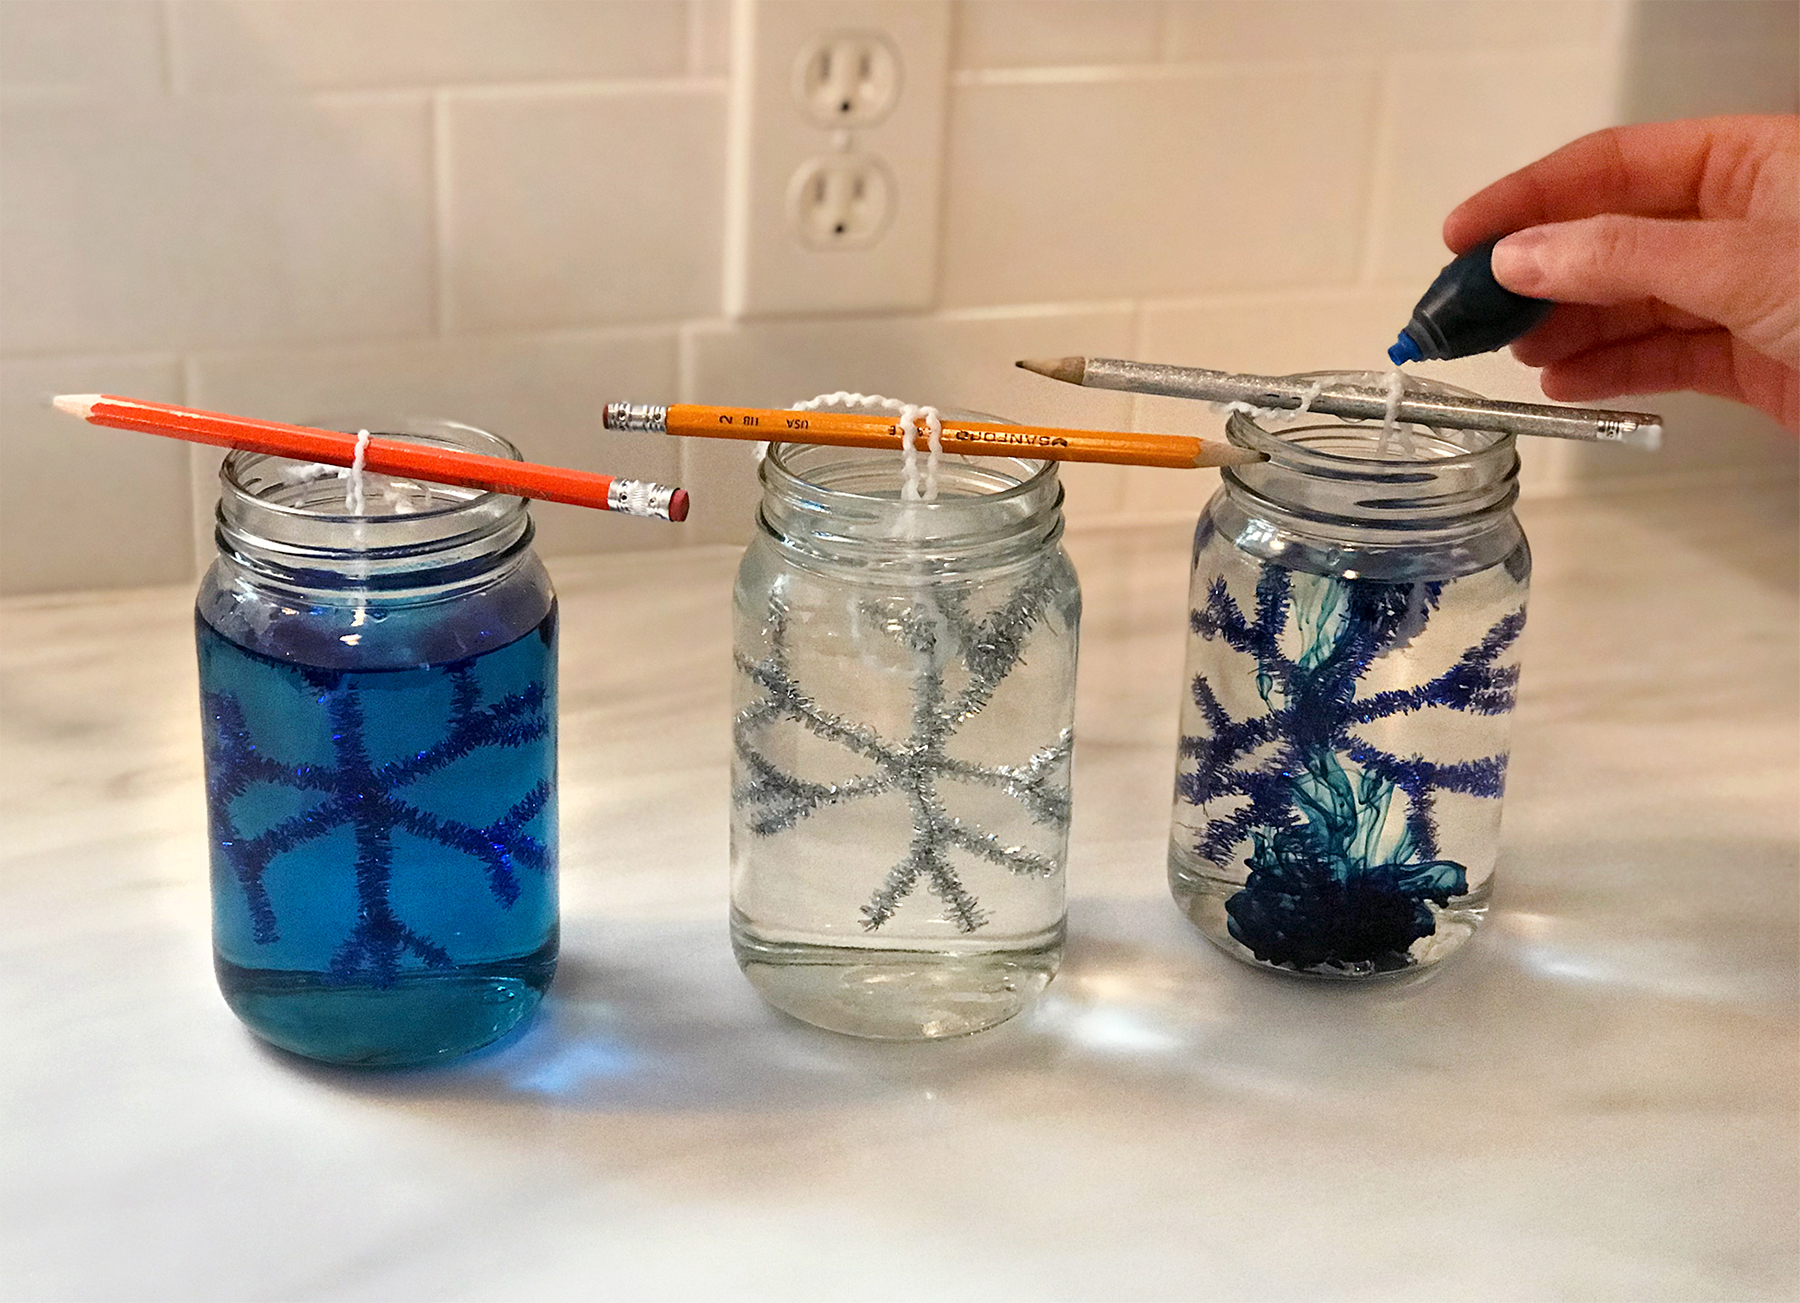
Next, cut a small length of string or yarn and tie it to the top of the snowflake. Tie the other end around a pencil. Fit the snowflake inside a mason jar, suspending it from the pencil. Check to make sure the snowflake is not touching the bottom or sides of the jar too much (a little is okay), as this will inhibit the growth of the crystals.
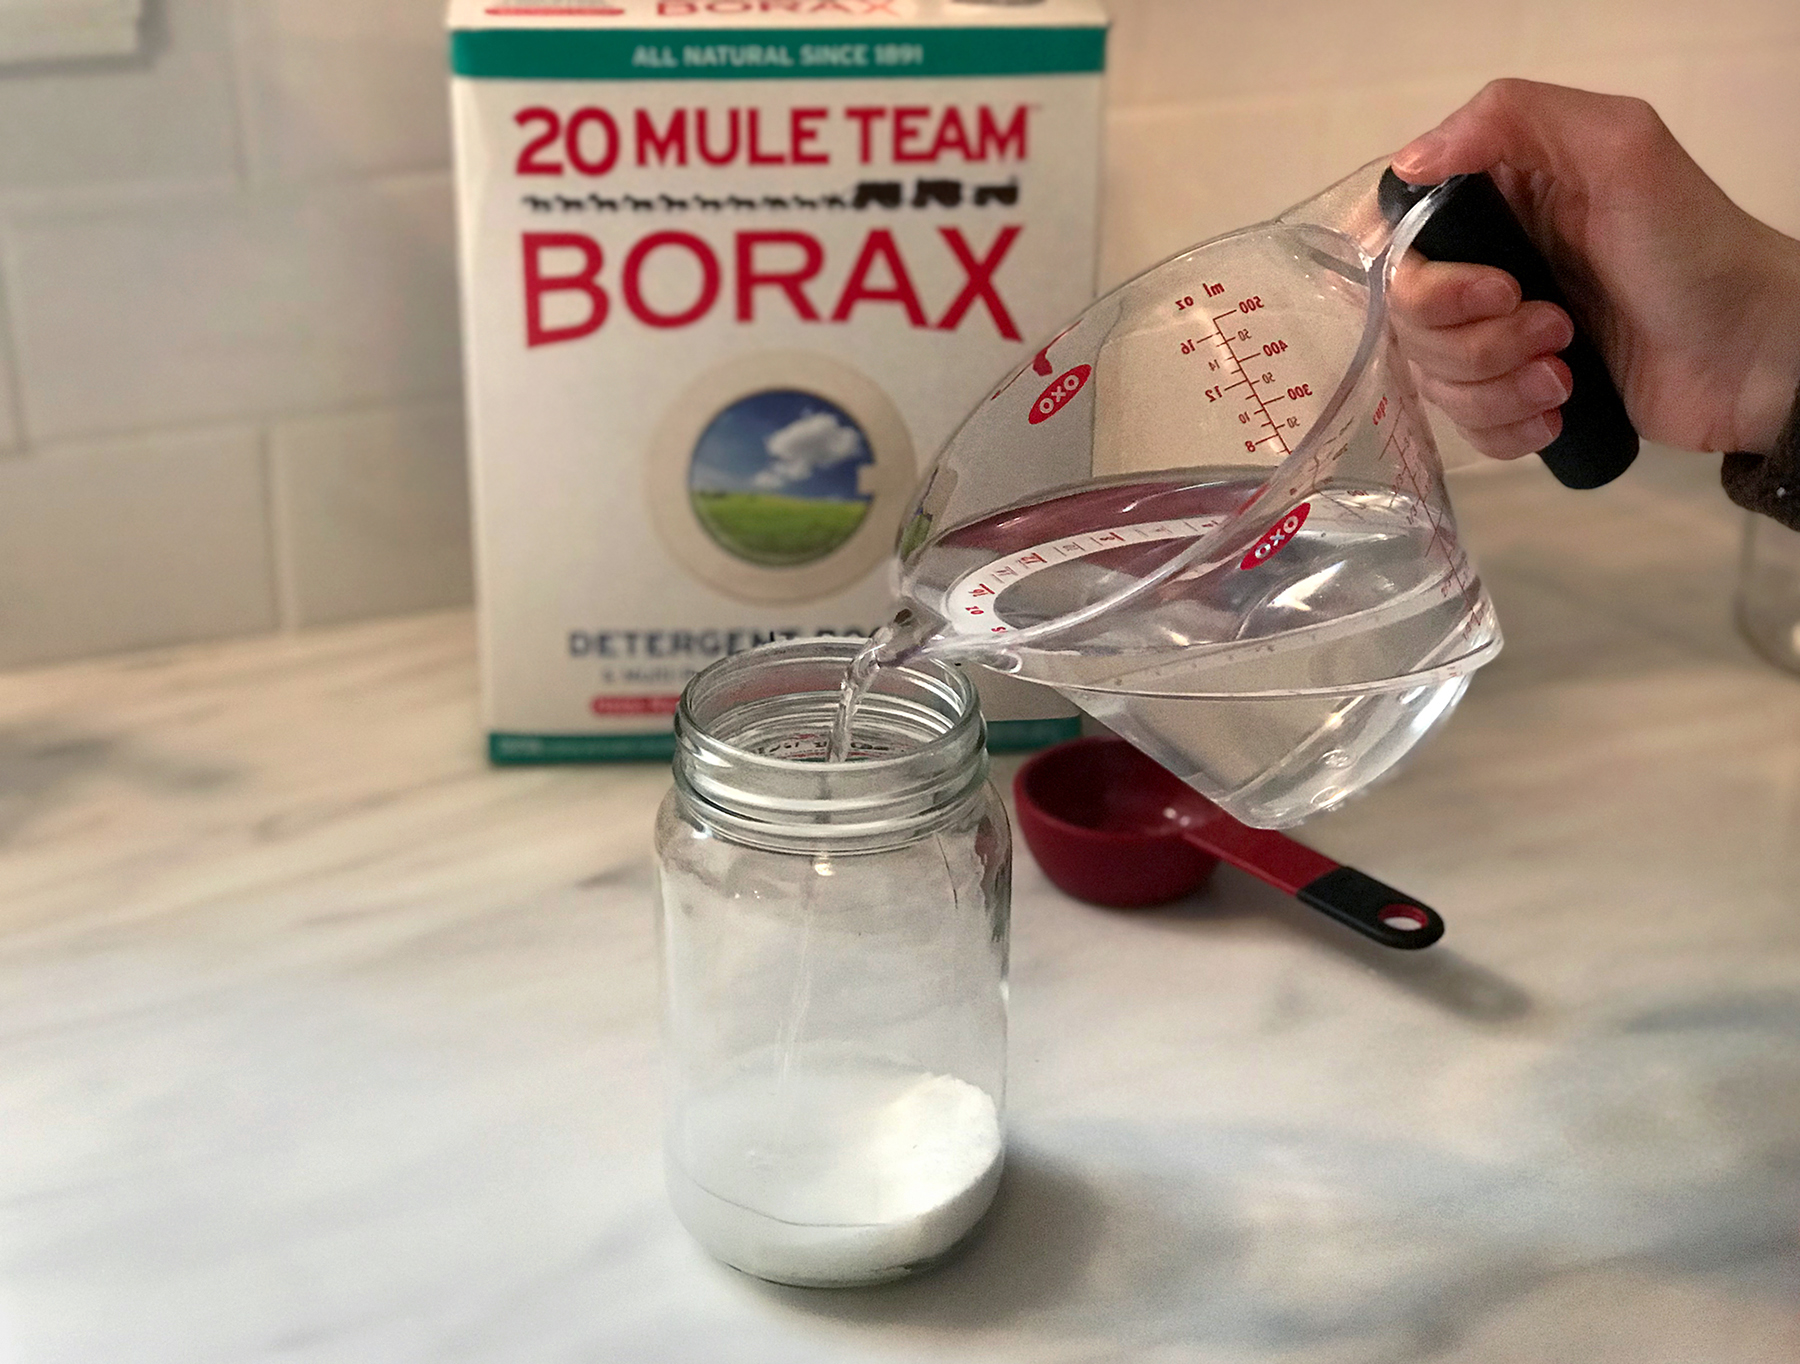
Now it's time to add some Borax. After you've checked the placement of the snowflake in the jar, remove it and set it aside. Add 1/4 cup of Borax to the mason jar.

Next, heat up the water. You'll need enough boiling water to fill each mason jar, so about two or three cups per jar should do it, depending on the size of your jar.
Very carefully, add the hot water to the mason jar. (An important note on adding boiling water to a mason jar: mason jars can withstand boiling water, but because they are made of glass, you should never pour very hot water into a mason jar that is very cold, such as a mason jar that just came out of the freezer. The temperature difference could cause the mason jar to break. If you are concerned, just run your mason jar under a little hot water. You can also use a large plastic container instead.)

Stir around the Borax until it completely dissolves in the boiling water.
Once the Borax is dissolved and the solution is clear, carefully suspend the snowflake in the solution.
Move the mason jar to a location where it will be undisturbed for the night. Double-check the position of the snowflake in the jar to be sure it is not touching the sides or the bottom too much.

If you would like, you can add a couple drops of blue food coloring to the solution at this point. The crystals that grow overnight will take on a bluish tint!
Now it's time for the hardest part—waiting! Check back in the morning to see how the snowflakes have transformed.

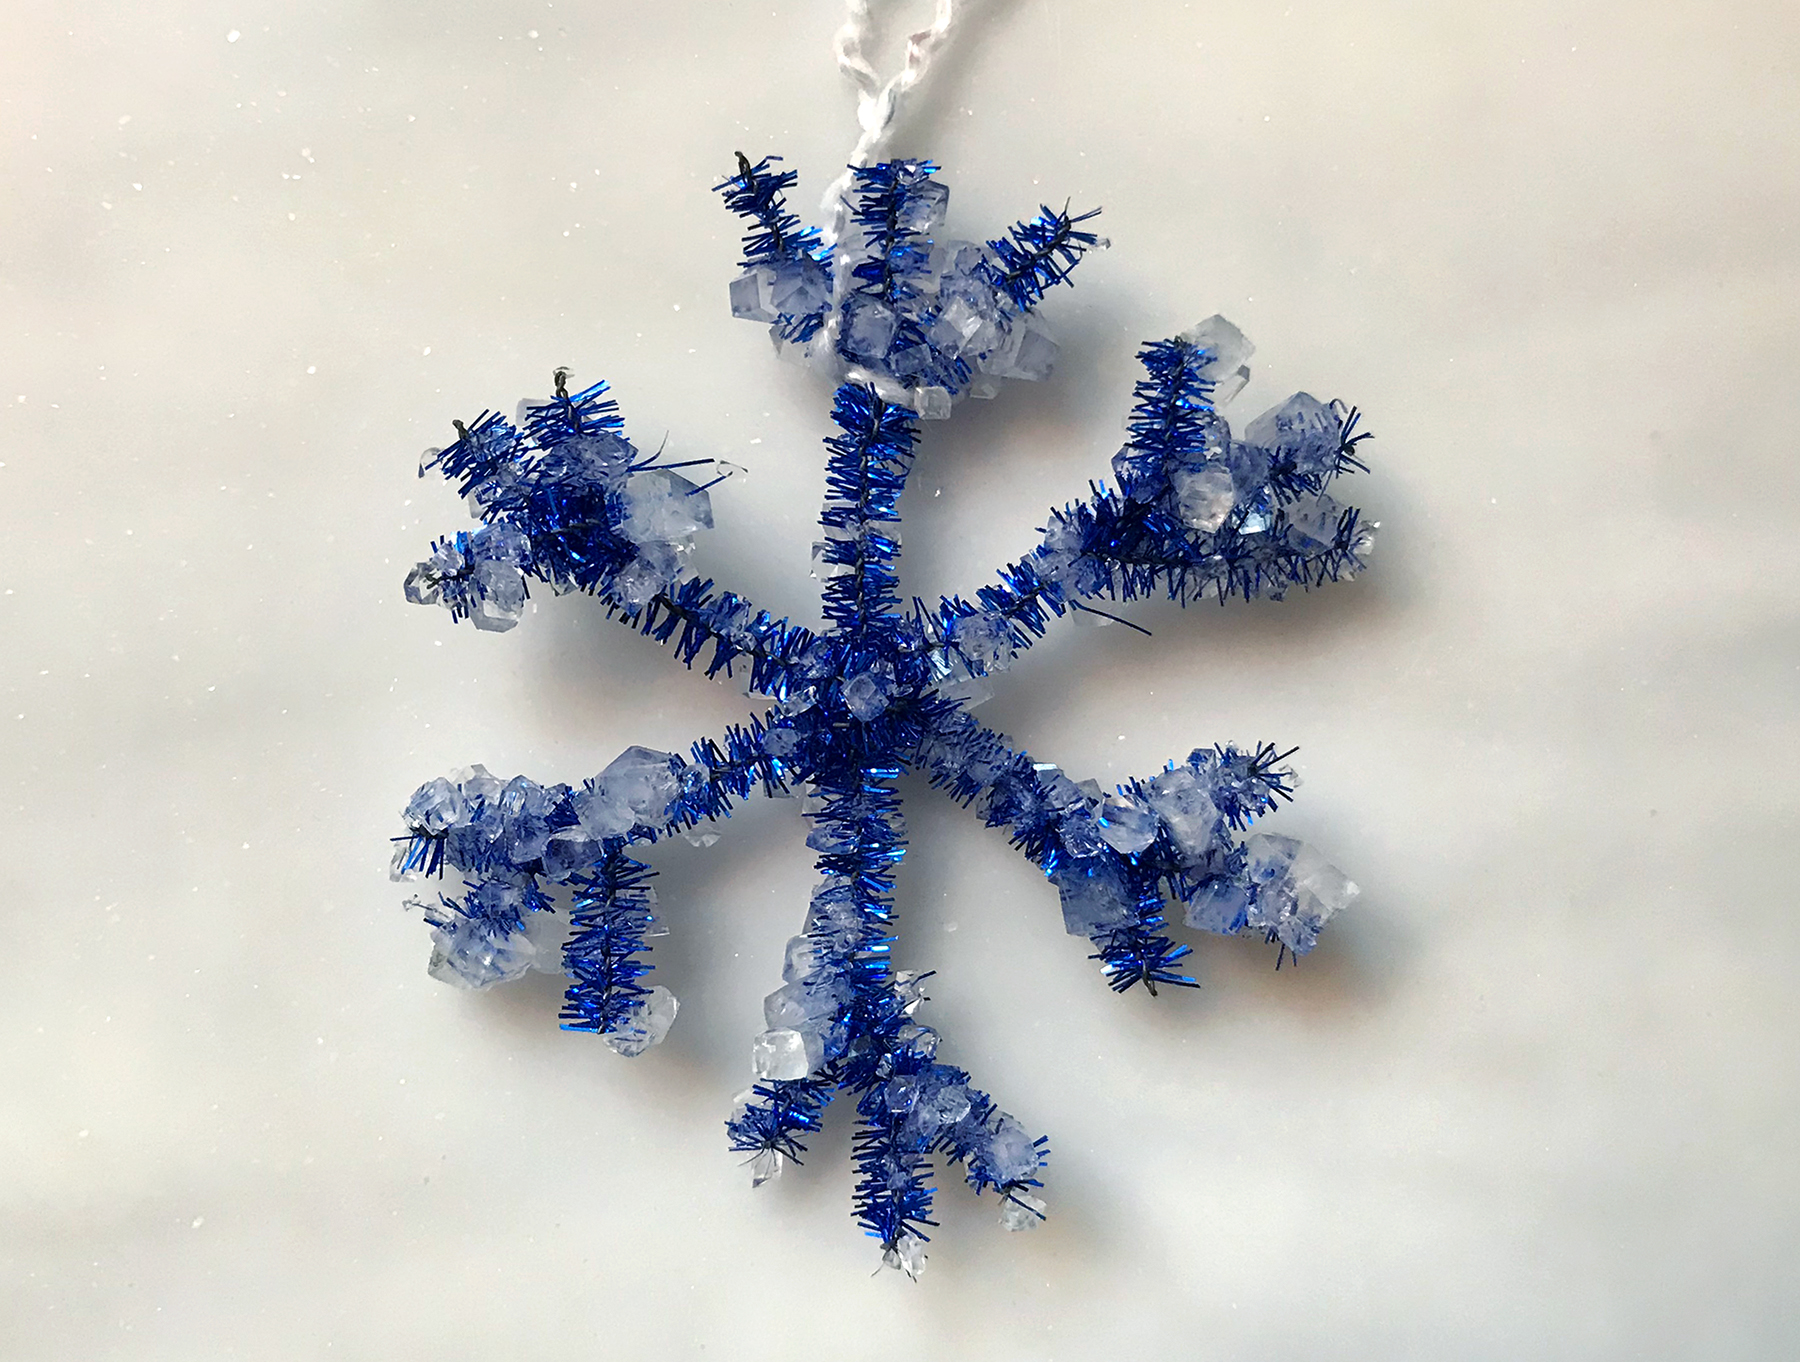
Look at the beautiful crystals you grew—amazing!
Remove the snowflakes from the mason jars and set them on a paper towel to dry out for a couple hours.

When they are completely dry, you can hang them up in a window to see how lovely the crystals look in the sunlight!

End the activity with a discussion of why the crystals form:
You and your students created a super-saturated solution with a dissolved mineral (Borax). The hot water molecules moved farther apart, which made room for the Borax crystals to dissolve. As the hot water cooled to room temperature overnight, the water molecules moved closer together and caused the Borax crystals to cling to the pipe cleaner snowflake, growing larger and building on each other with the dropping temperature. Pretty cool—literally!

Did you try out this winter science experiment with your students? Tell us all about it! Drop us a line in the comment section below.
If you are looking for more fun winter-themed activities, explore the educational resources on the Super Teacher Worksheets Winter Page!
You may also like: